September 25, 2025
Aircontacts setup guide
Aircontacts setup guide
Check out How Aircontacts formats guest contact names to understand what the contact format looks like on your phone.
-
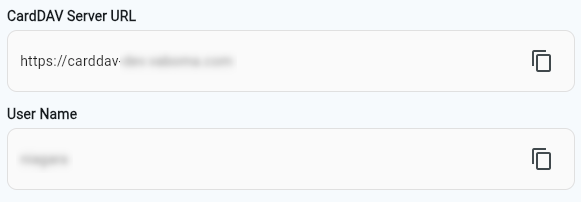
Log in to the portal (https://portal.vaboma.com). On your first login, you’ll be asked to set your CardDAV password. Remember this password for later when you set up contact sync on your phone. On the home page, copy the “CardDAV Server URL” and your “User Name”.
Use the links below to jump to your device instructions:
If you are an iPhone user (example: iOS 26):
-
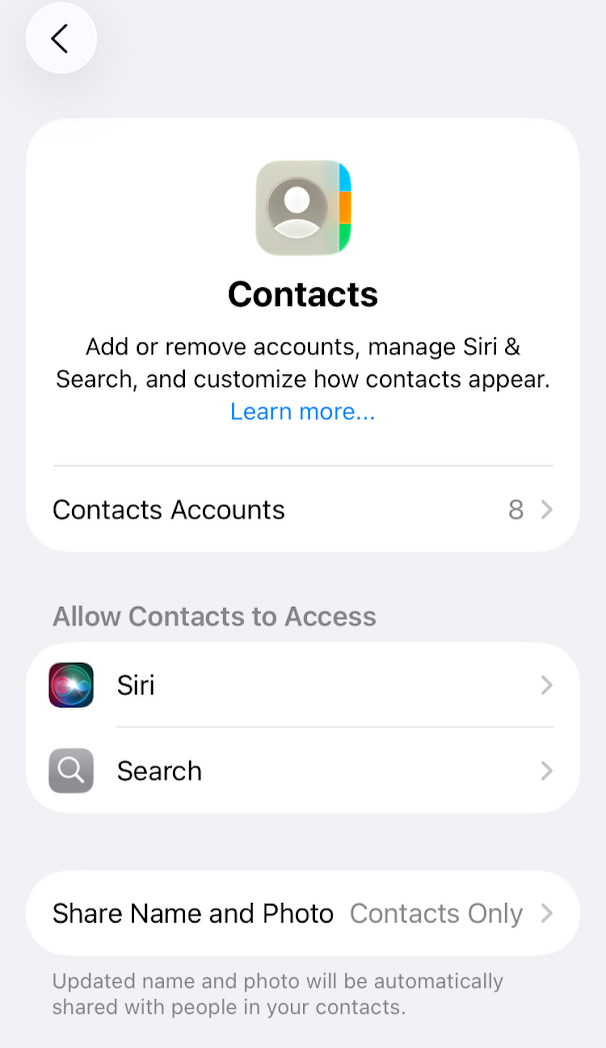
Open “Settings”. Search for “Contacts”, or select “Apps” → “Contacts”.
-
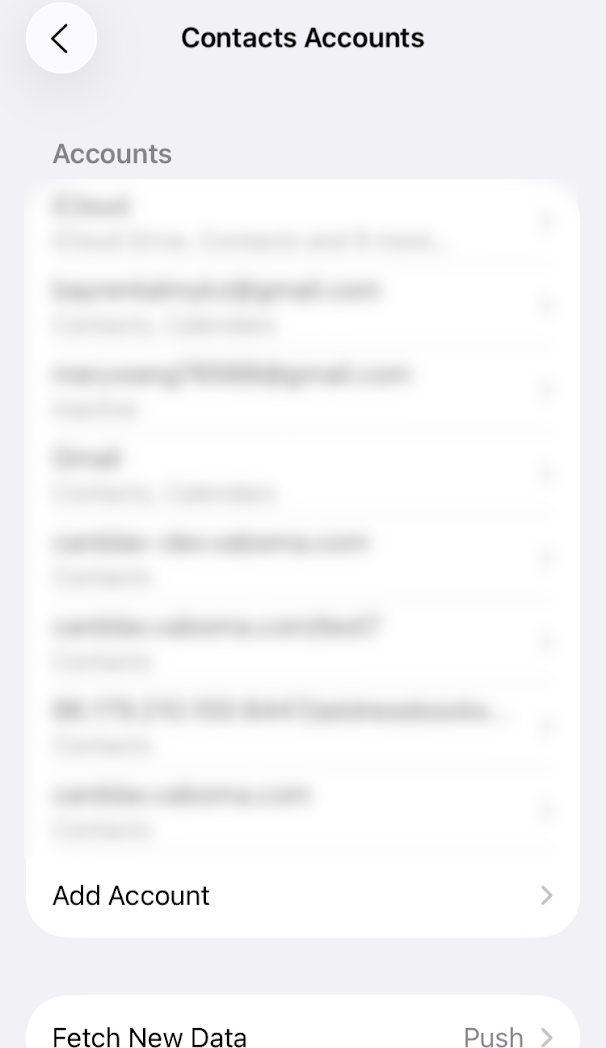
Select “Contacts Accounts”.
-
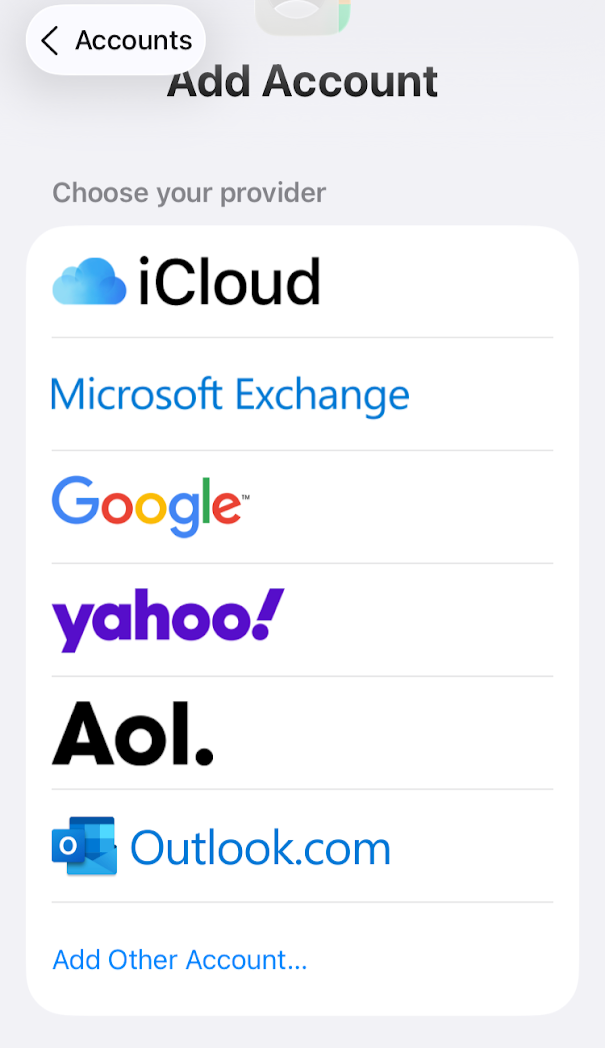
Select “Add Account”.
-
Select “Add Other Account”.
-
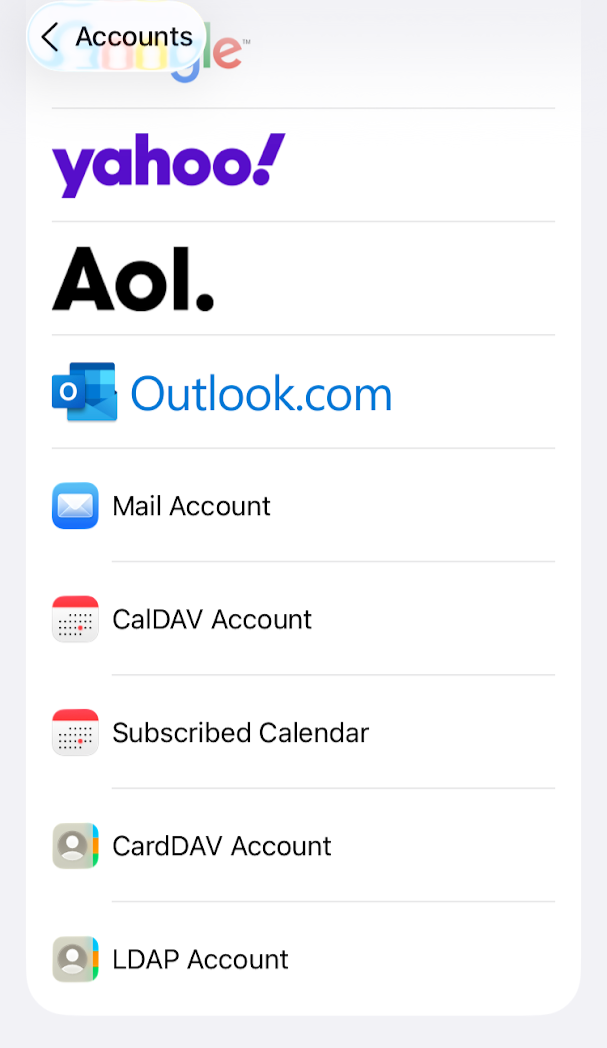
Select “CardDAV Account”.
-
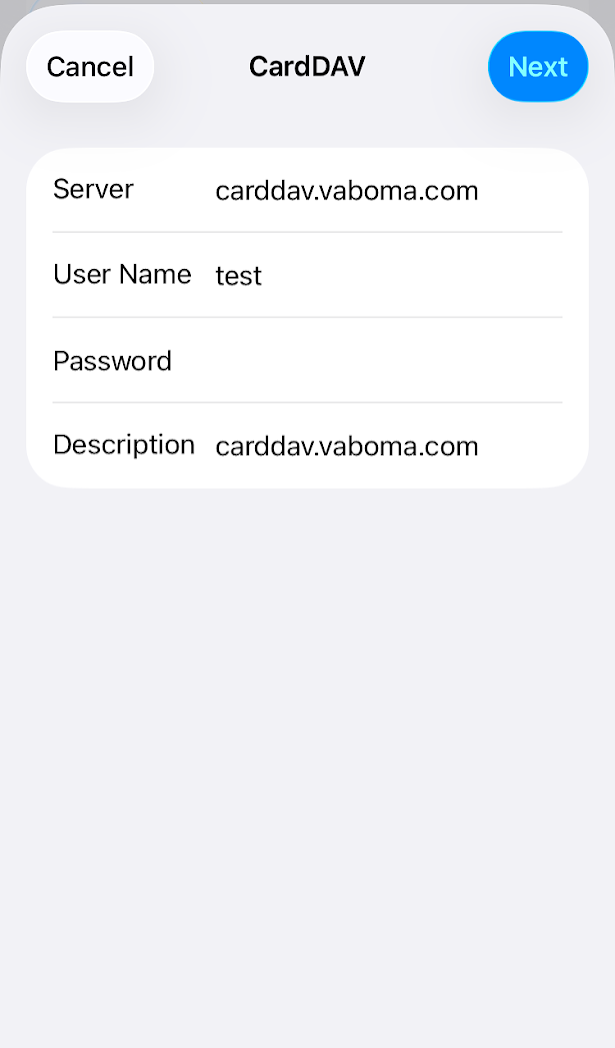
Enter “CardDAV Server URL” (copied from the home page) as “Server”. Enter “User Name” (copied from the home page) as “User Name” (this is the user name you created when creating the account).
-
Enter your password as the CardDAV password you set on your first login.
-
Select “Next”.
-
The screen will display “Verifying”. After your account is verified, your contacts will sync with your phone.
If you are an Android user:
-
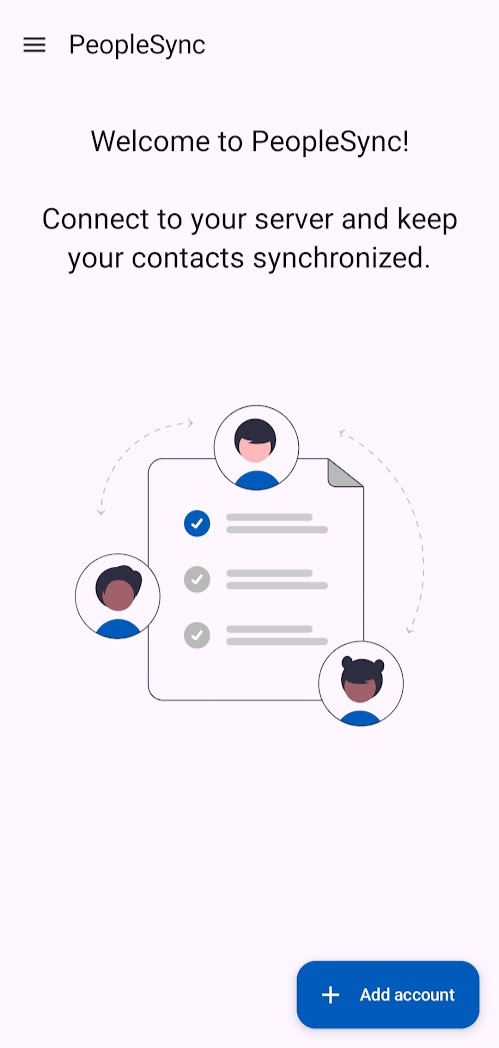
You can use CardDAV apps like DAVx5, ContactSync, or PeopleSync. Here is an example with PeopleSync (free): https://play.google.com/store/apps/details?id=com.messageconcept.peoplesyncclient
-
Select ”+ Add account” on the home page.
-
Select “Login with URL and user name”.
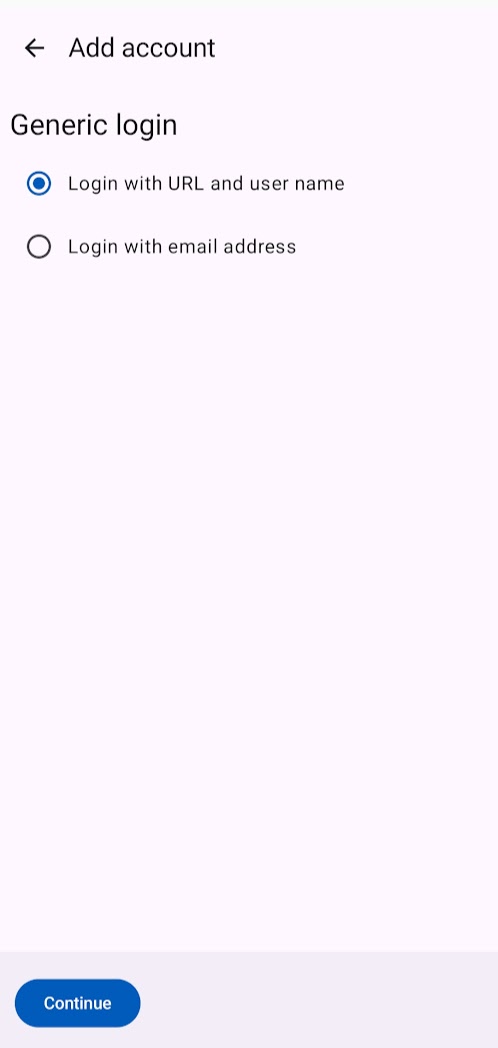
-
Enter “CardDAV Server URL” (copied from the home page) as “Base URL”. Enter “User Name” (copied from the home page) as “User name” (this is the user name you created when creating the account). Enter your password as the CardDAV password you set on your first login.

-
Once the account is added successfully, add the account name of your choice in the last step. After this step, your contacts will sync with your phone.
